How to unlock a Lock with a Paperclip
Section 1: Understanding the Basics of Lock Mechanism

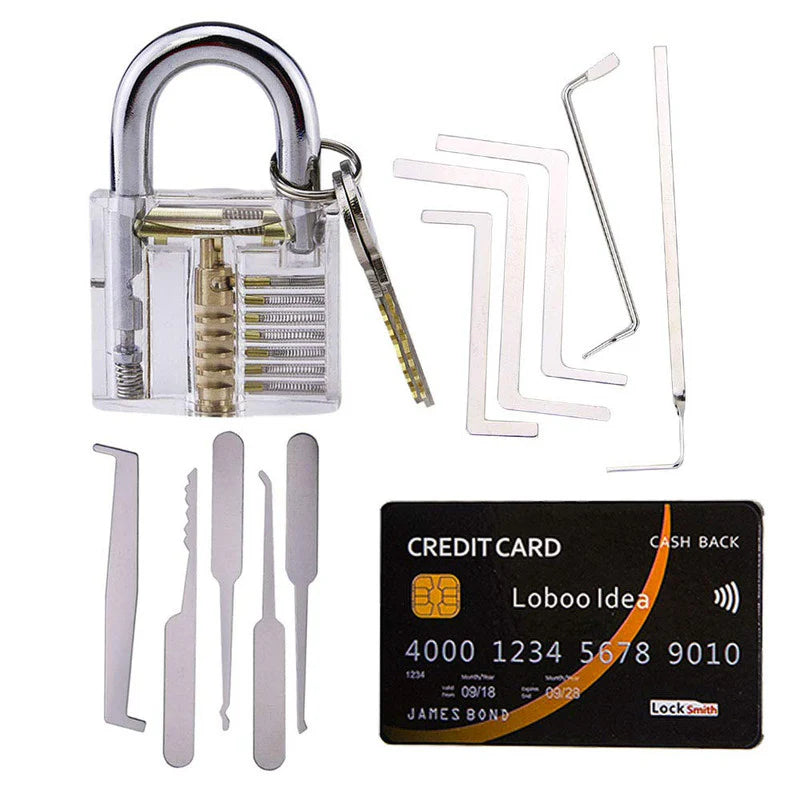
The lock cylinder typically comprises a series of meticulously arranged metal pins (also known as tumblers, wafers, or needles) and springs, positioned at varying heights, forming barriers that prevent the cylinder from rotating.
Pins:
The pins are arranged in two sets: driver pins and key pins. The driver pins are fixed in place, while the key pins are spring-loaded and can move up and down.
Shear Line:
When the correct key is inserted, the key pins are pushed up to a specific height, aligning with the shear line and allowing the plug to rotate freely.
Key:
The key's grooves correspond to the unique arrangement of key pins in the lock, pushing each pin to the correct height when inserted.
The basic principle behind using a paperclip to unlock a lock is an attempt to mimic this process with a non-professional tool. The operator must bend the paperclip into a shape suitable for the internal structure of the lock cylinder, then carefully insert it into the cylinder. Through meticulous adjustments and tactile feedback, the operator attempts to interact with the pins within the cylinder using different parts of the paperclip, pushing each pin into its correct position. This requires exceptional skill, patience, and a deep understanding of the lock cylinder's mechanics.

Section 2: Gathering Your Tools (Including the Paperclip)
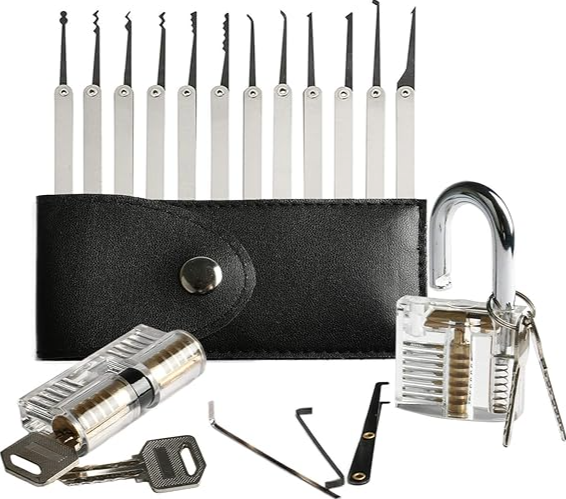
To pick a lock with a paperclip, you'll need to create two basic tools: a tension tool and a pick.
A paperclip-It is a small, typically metal device that usually has a curved or looped shape.
A tension wrench-It is a specialized tool used primarily in lock picking, specifically for applying torque or tension to a lock's cylinder or plug while manipulating other tools to bypass the lock's security mechanisms. It is designed to keep the lock's internal components in a state of tension, allowing the picker to manipulate the pins or other components inside the lock.
Pick:
Use another paperclip or a straightened paperclip segment and bend it into a hook or other shape that can manipulate the key pins. A needle-nose pliers or tweezers can also be used as a pick, depending on the size and accessibility of the lock.

Section 3: Operating Procedure

Most locks work by means of pins of varying lengths that need to be lifted to the correct height to allow the lock to turn. When the correct key is inserted, it precisely aligns these pins.
Before attempting to unlock the lock, it is crucial to apply tension to the lock cylinder. This is achieved by inserting a tension tool into the bottom of the keyway and gently turning it in the direction the lock normally opens (clockwise or counterclockwise, depending on the type of lock).
Mild Pressure Application:
Insert the Torsion Wrench Insert the torsion wrench into the bottom of the keyhole and apply gentle clockwise pressure. Apply enough pressure to prevent the lock cylinder from rotating freely, but not too much that it becomes difficult to manipulate the pins.
Maintaining Consistency:
Inserting the Bobby Pin Insert a straightened bobby pin into the top of the keyhole. Using the tip of the bobby pin, push each pin upwards one by one, maintaining a constant level of tension throughout the process.
Locating and Manipulating the Locking Pins:
After applying tension, the next step is to locate the locking pins – the pins that prevent the lock cylinder from rotating.Feeling the Stuck Pin: As you push a pin upwards with the bobby pin, you will feel resistance when you reach a stuck pin. This is the pin that needs to be lifted to the correct height. Continue applying pressure with the torsion wrench and work on the stuck pin until the lock turns.


